Among the many mysterious locations scattered throughout the Lands Between in Elden Ring, the Sealed Tunnel stands out as a fan-favorite for its intricate design, hidden secrets, and meaningful connection to the game’s lore. Tucked away in the western part of the Altus Plateau, this dungeon offers a unique blend of environmental puzzles, rare loot, and formidable enemies. In this article, we’ll explore everything you need to know about the Sealed Tunnel: how to find it, what dangers await within, the rewards you can claim, and the lore implications for Tarnished adventurers.
Finding the Sealed Tunnel: Location and Access
The Sealed Tunnel is located just southeast of the Leyndell, Royal Capital, along the banks of the moat that surrounds the city. To reach it, start from the Outer Wall Phantom Tree Site of Grace and follow the path southward, keeping an eye on the cliff’s edge. The entrance is partially concealed by overgrowth and stone, making it easy to overlook for the unobservant.
Before entering, make sure you’re prepared: the Sealed Tunnel is a mid-to-late game area filled with traps, strong enemies, and some of the most devious illusions in Elden Ring. Bring plenty of healing flasks, torch or lantern for visibility, and equipment that balances defense and agility.
Dungeon Layout and Progression
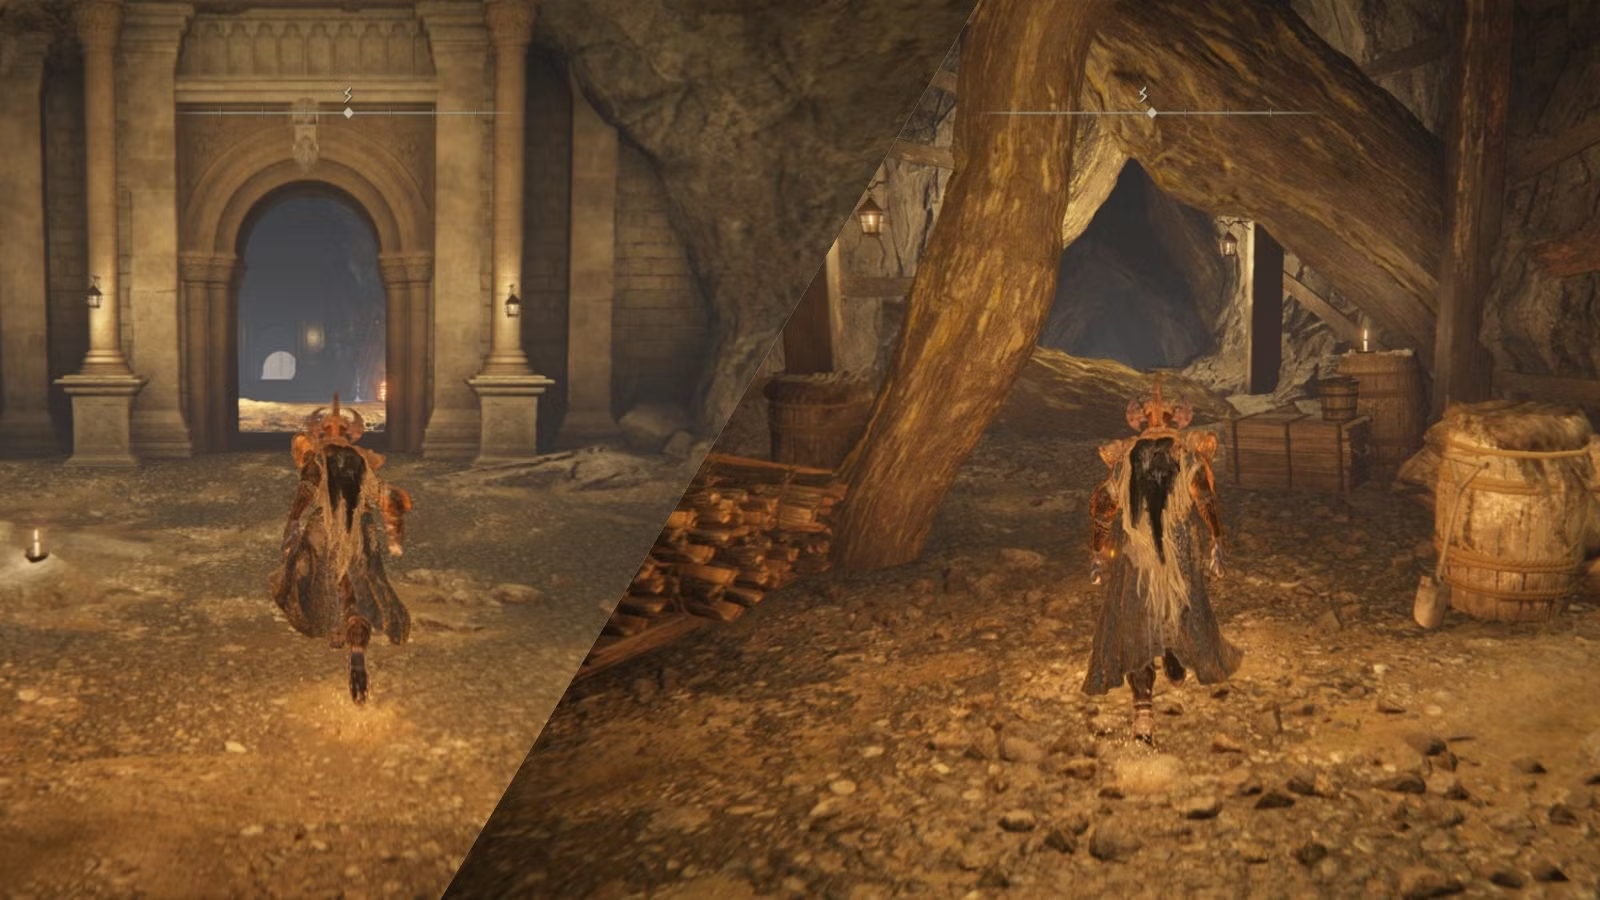
The Sealed Tunnel is renowned for its illusory walls and tricky environmental puzzles. Upon entering, you’ll immediately encounter a seemingly dead-end wall. Attack it to reveal the first of many hidden passages. This sets the tone for the entire dungeon—progression relies on keen observation and a willingness to question what appears solid.
Throughout the tunnel, you’ll face:
- Illusory Walls: Multiple fake walls conceal new paths and treasure rooms. Test suspicious-looking surfaces as you proceed.
- Traps: Pressure plates, falling rocks, and explosive barrels are common hazards. Move cautiously and use ranged attacks to trigger traps from a safe distance.
- Miners and Vulgar Militiamen: The main enemies here are tough, mineral-encrusted miners and nimble militiamen. Miners are heavily armored against physical attacks but susceptible to magic and strike damage.
- Scarabs and Insects: Several hidden scarabs drop valuable Ashes of War and crafting materials.
Key Treasures and Loot
Sealed Tunnel is a treasure trove for those who explore thoroughly. Notable rewards include:
- Smithing Stones (including Somber Smithing Stones): Upgrade materials for both regular and special weapons.
- Lost Ashes of War: Used to duplicate Ashes of War, giving you more flexibility in customizing your build.
- Onyx Lord’s Greatsword: A unique weapon with high Strength and Intelligence scaling, dropped by the dungeon boss.
- Rune Arcs and Consumables: Scattered throughout side rooms and alcoves, especially behind illusory walls.
Boss Encounter: Onyx Lord
At the end of the Sealed Tunnel, you’ll face the Onyx Lord, a powerful being with gravity-based sorceries. This boss is notable for:
- Gravity Attacks: The Onyx Lord can hurl rocks, create gravitational pulls, and unleash area-of-effect slams. Dodge timing and spatial awareness are key.
- Weaknesses: The Onyx Lord is vulnerable to magic and rapid attacks. Summons can help distract him while you chip away at his health.
- Reward: Defeating the Onyx Lord grants you the Onyx Lord’s Greatsword—a potent weapon with a unique weapon art.
Secret Passage to the Divine Tower of West Altus
Perhaps the most significant feature of the Sealed Tunnel is the hidden passage it conceals. After the boss, continue past the fog gate and follow the narrow corridors. You’ll eventually emerge at the base of the Divine Tower of West Altus. This tower is crucial for players seeking to activate the Great Rune of Rykard, Lord of Blasphemy, obtained after defeating Rykard in Mt. Gelmir.
Lore and Story Connections
The Sealed Tunnel is more than just a challenging dungeon—it’s a narrative bridge between Leyndell, the Divine Towers, and the legacy of the Shattering. The presence of the Onyx Lord and the gravity-themed elements connect this site to the mysterious Nox civilization and the cosmic entities that shaped the Lands Between. The tunnel’s function as a secret route to the Divine Tower hints at political intrigue, hidden power struggles, and the lengths to which factions went to secure and conceal the Great Runes.
Tips for Conquering the Sealed Tunnel
- Check all walls: Attack every suspicious wall. The tunnel is notorious for its illusory walls, some hiding essential paths.
- Use ranged attacks: Trigger traps from a distance to avoid unnecessary damage.
- Bring strike weapons or magic: Miners are heavily resistant to slashing and piercing damage but take extra damage from hammers, flails, and sorceries.
- Watch for ambushes: Enemies often lurk around corners or behind destructible objects.
- Explore thoroughly: The best loot is often off the main path, hidden in side rooms or behind false walls.
Community and Replayability
Fans praise the Sealed Tunnel for its classic FromSoftware design—a mix of tension, exploration, and payoff. Speedrunners and challenge-seekers often return to this dungeon to test their skills and find new ways to optimize their path. The abundance of secrets ensures that even veteran Tarnished can discover something new with each visit.
Conclusion
The Sealed Tunnel in Elden Ring encapsulates the essence of FromSoftware’s dungeon design: mystery, danger, and reward. From its illusory walls to its lore-heavy connections, it offers an unforgettable experience that challenges and delights. Whether you’re a first-time adventurer or a seasoned explorer, the Sealed Tunnel is a must-visit, promising not just great loot, but a deeper appreciation for the world of Elden Ring.